I created Sanctuary for my ISD2-A (Sound Design in Unity) unit while studying abroad at the Glasgow School of Art’s School of Simulation and Visualization. The brief asked us to populate a premade layout with audio-visual interactions, but since this was my first time working with a game engine, I wanted to take it one step further and build a custom environment as well. The learning curve for Unity was steep, and we only had three weeks to work on the project, but I gave it my all and assembled an imperfect(!) project that I’m still very proud of.
Sanctuary pulls inspiration from contemporary art spaces and new-wave spiritualism to create a surreal audio-visual experience.
Gameplay Walkthrough
Unedited In-Game Screenshots
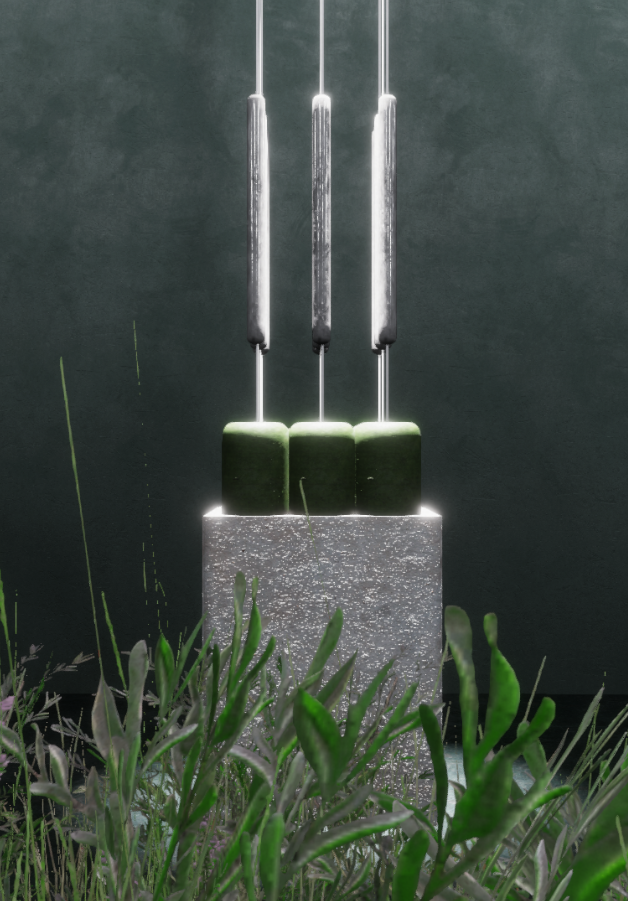
Chime Sculpture
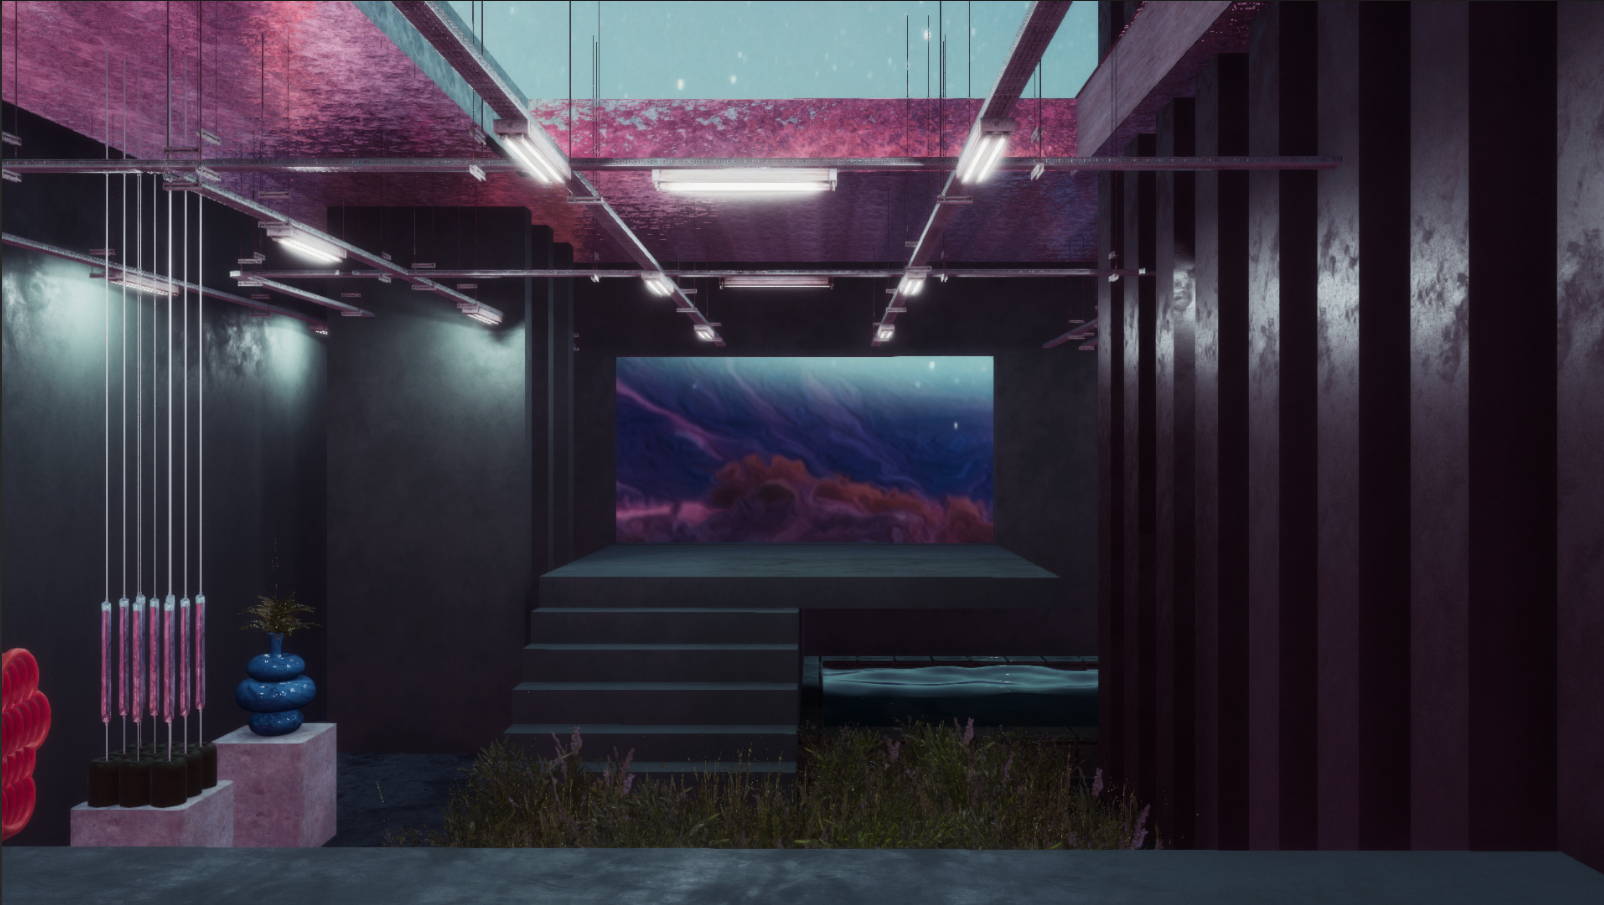
Nighttime light volume
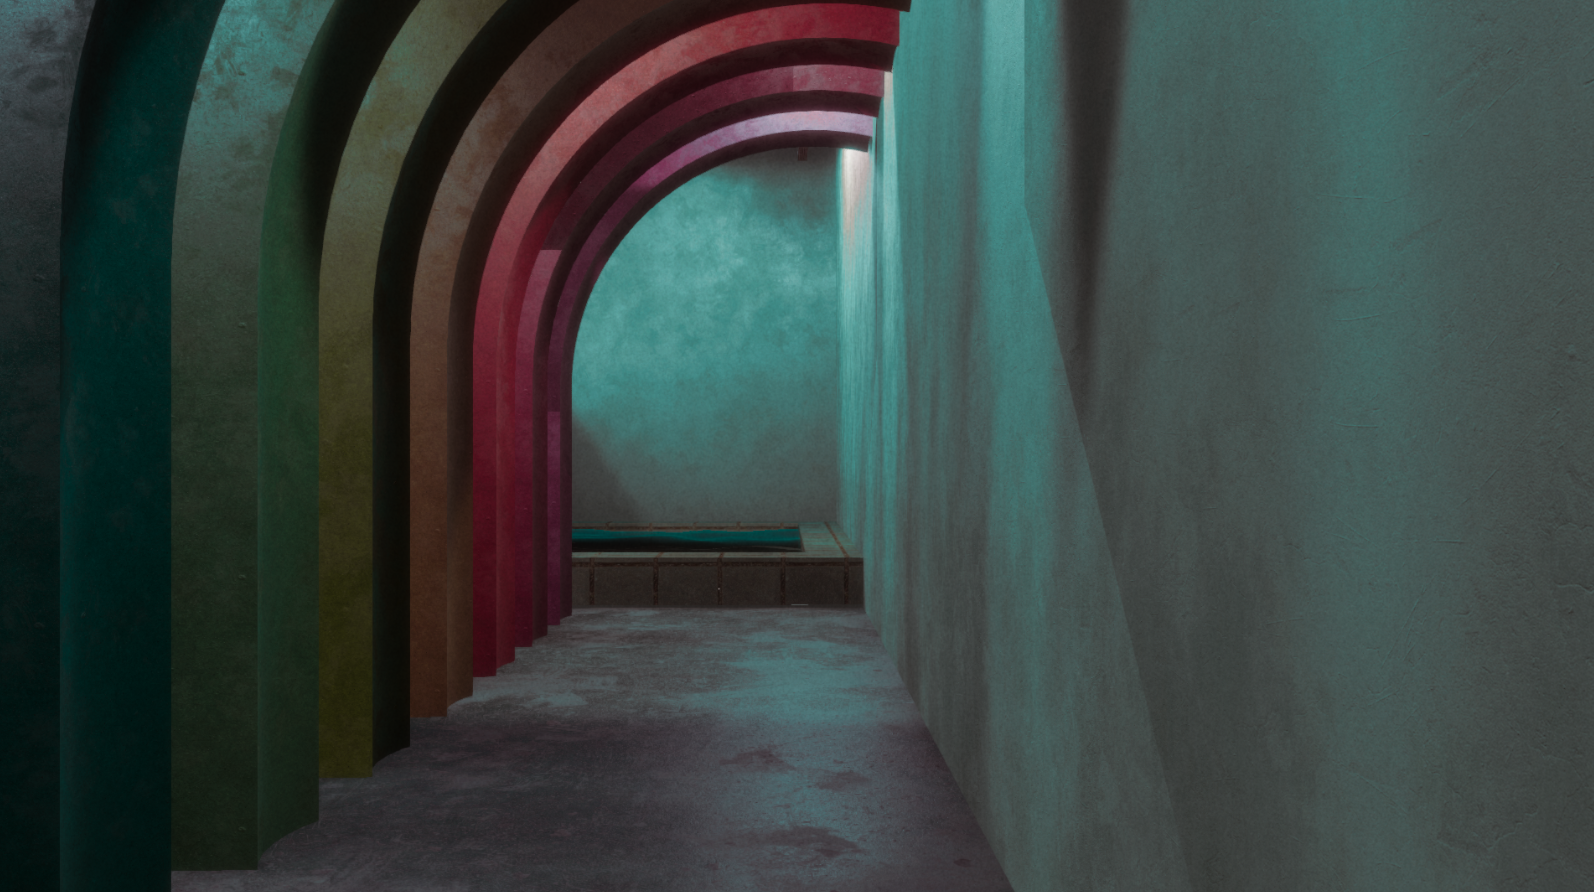
Color changing walkway

Sculpture gallery
Full Process
When I first learned that we would be using premade layouts for my first project at the Glasgow School of Art, I had mixed feelings. I was relieved that I would have access to high quality assets and could focus on learning Unity instead of asset creation, but I was also worried that I wouldn’t get much experience with environment design and art direction, two major goals I have for the semester. Even though the focus of this assignment was on audio immersion, I was really excited once I found out that layout alterations, new features, and general experimentation were also expected per the project brief.
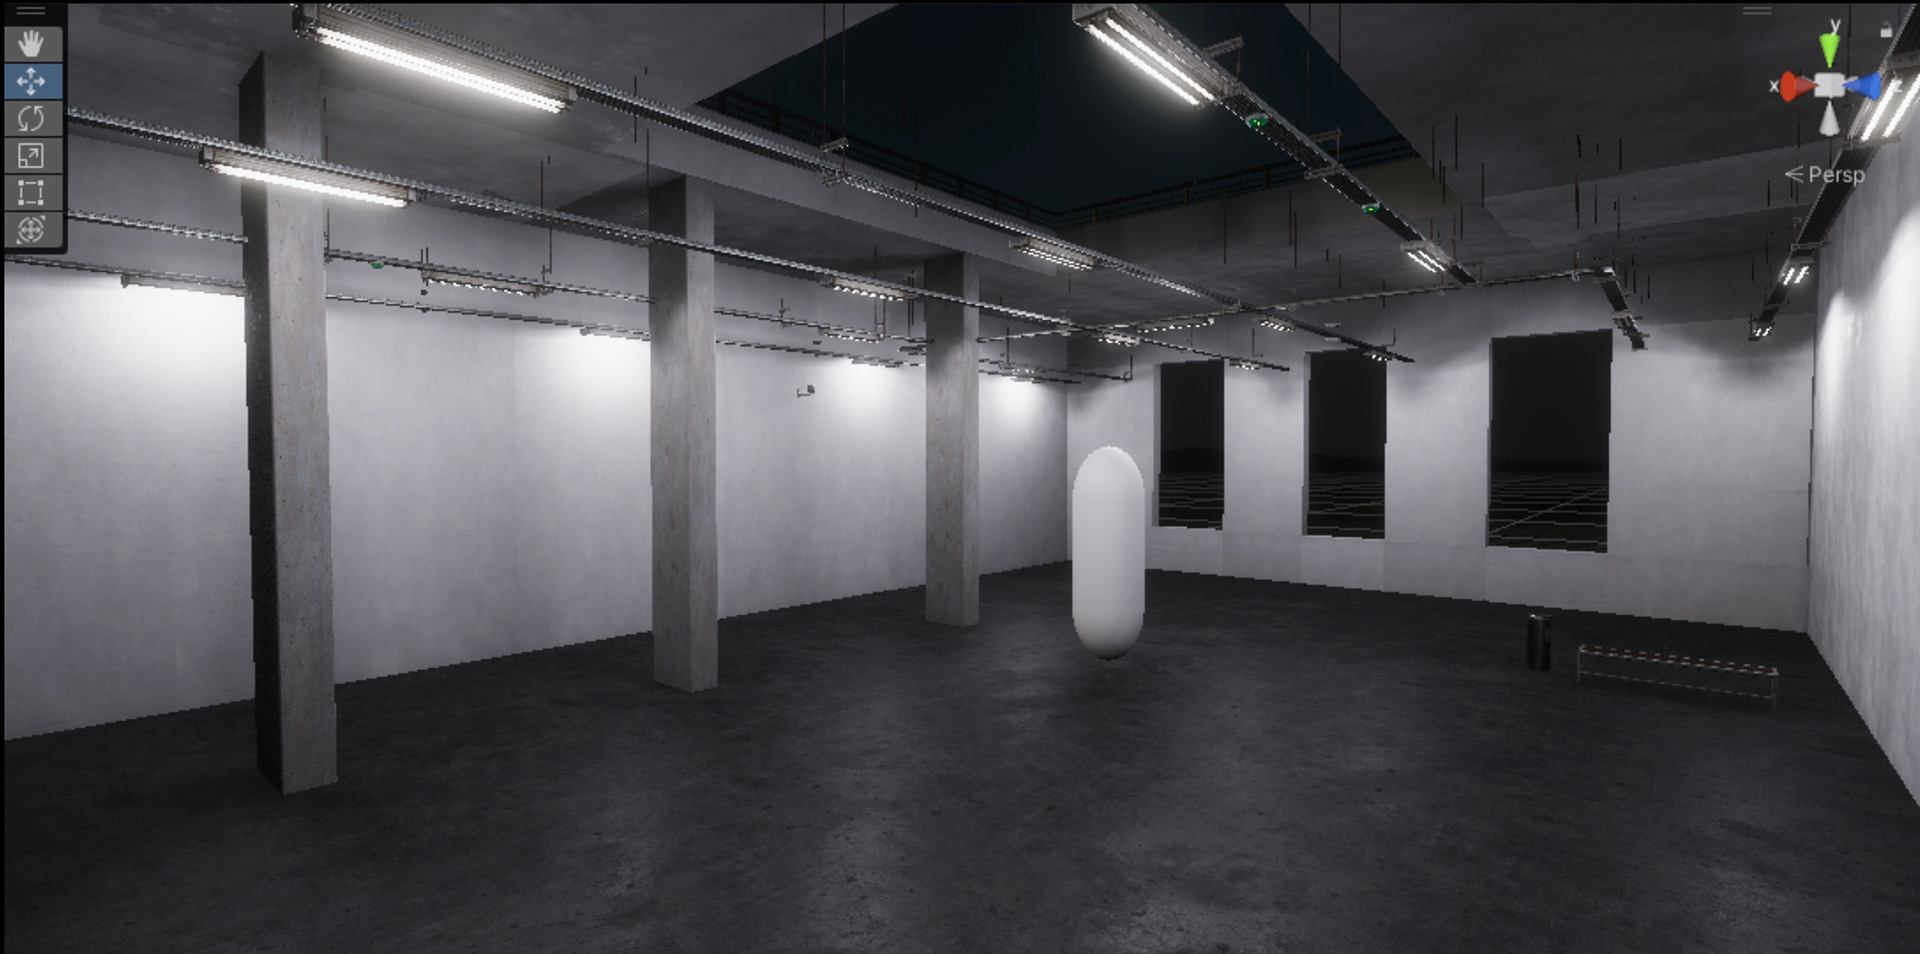
Balancing the project’s main requirement of an immersive audio experience with my desire to learn about other aspects of the Unity pipeline posed a big challenge. The premade layouts we got to choose from were really large and full of detail, so I knew I wanted to simplify my chosen scene so I could focus on quality over quantity. I chose the Snaps HD Carpark layout, as it had all the building blocks I needed to repurpose the space into something more compact and intimate. Because I didn’t want to spend too much time creating detailed assets from scratch, I decided to pull inspiration from contemporary art galleries and design a space that could showcase abstract, organic work.

Sources of Inspiration
My final idea was to deconstruct the Carpark and convert it into a grungy modern art space with a surrealist soundscape. I referenced both physical galleries and digital games/renders to flesh out my vision. Since the project brief was about sound design, I started a preliminary search for ambient clips on Soundsnap using keywords such as “electronic,” “meditation,” and “experimental,” but dedicated the majority of my time to orienting myself in Unity. I spent the first week tearing down the car park and assembling prefab tiles and lights into a room, which was a great way to learn the basics. I preserved the open-roof from the original layout to give the space more depth and added windows so I could use them for a sound interaction.

First Iteration of Gallery Layout
To make the lighting suited for a small space, I deleted almost all of the lights (excluding the LEDs) and relit the scene with an HDRP Light Volume following this tutorial.
Relit Scene
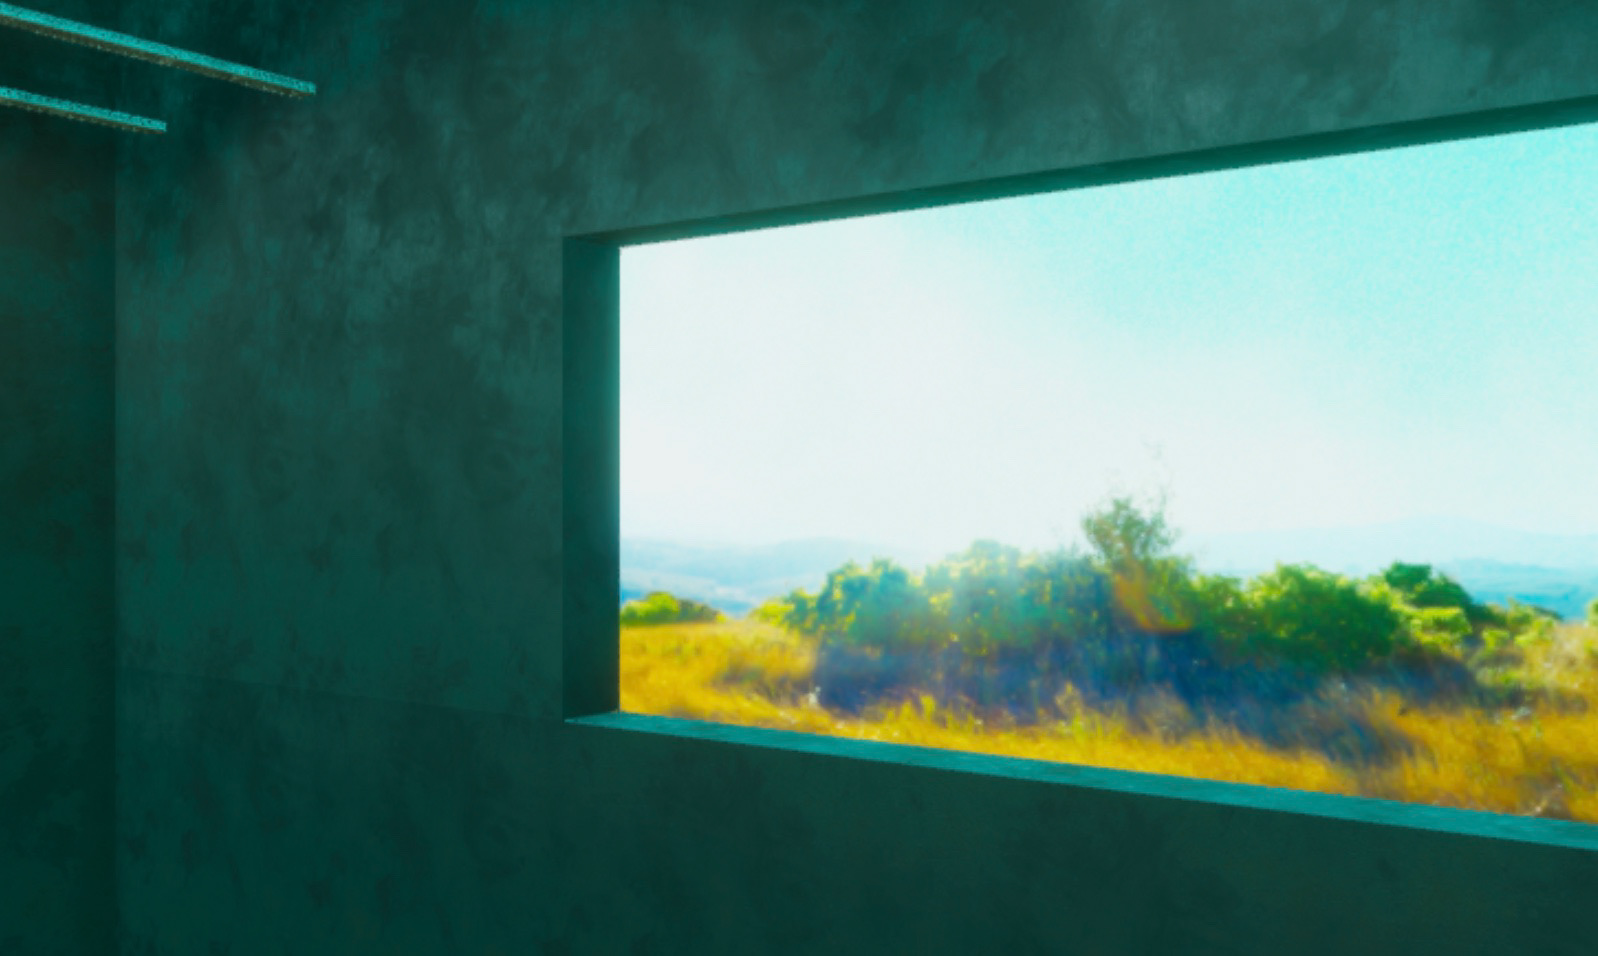
Something that caught my attention with Light Volumes was that I could have multiple volumes with unique HDRI textures in a scene and easily switch between them, altering the mood and atmosphere of the room. I assembled saturated, hyperreal day and night environments powered by HDRIs, and sourced sound to match their appearance.

The original HDRIs (left) and my edited versions (right)
I attached these HDRIs to light volumes located near the windows in the room, which are triggered by the position of the player. The ambience and music could then change depending on what environment was active at a given moment.
'Day' Volume Test
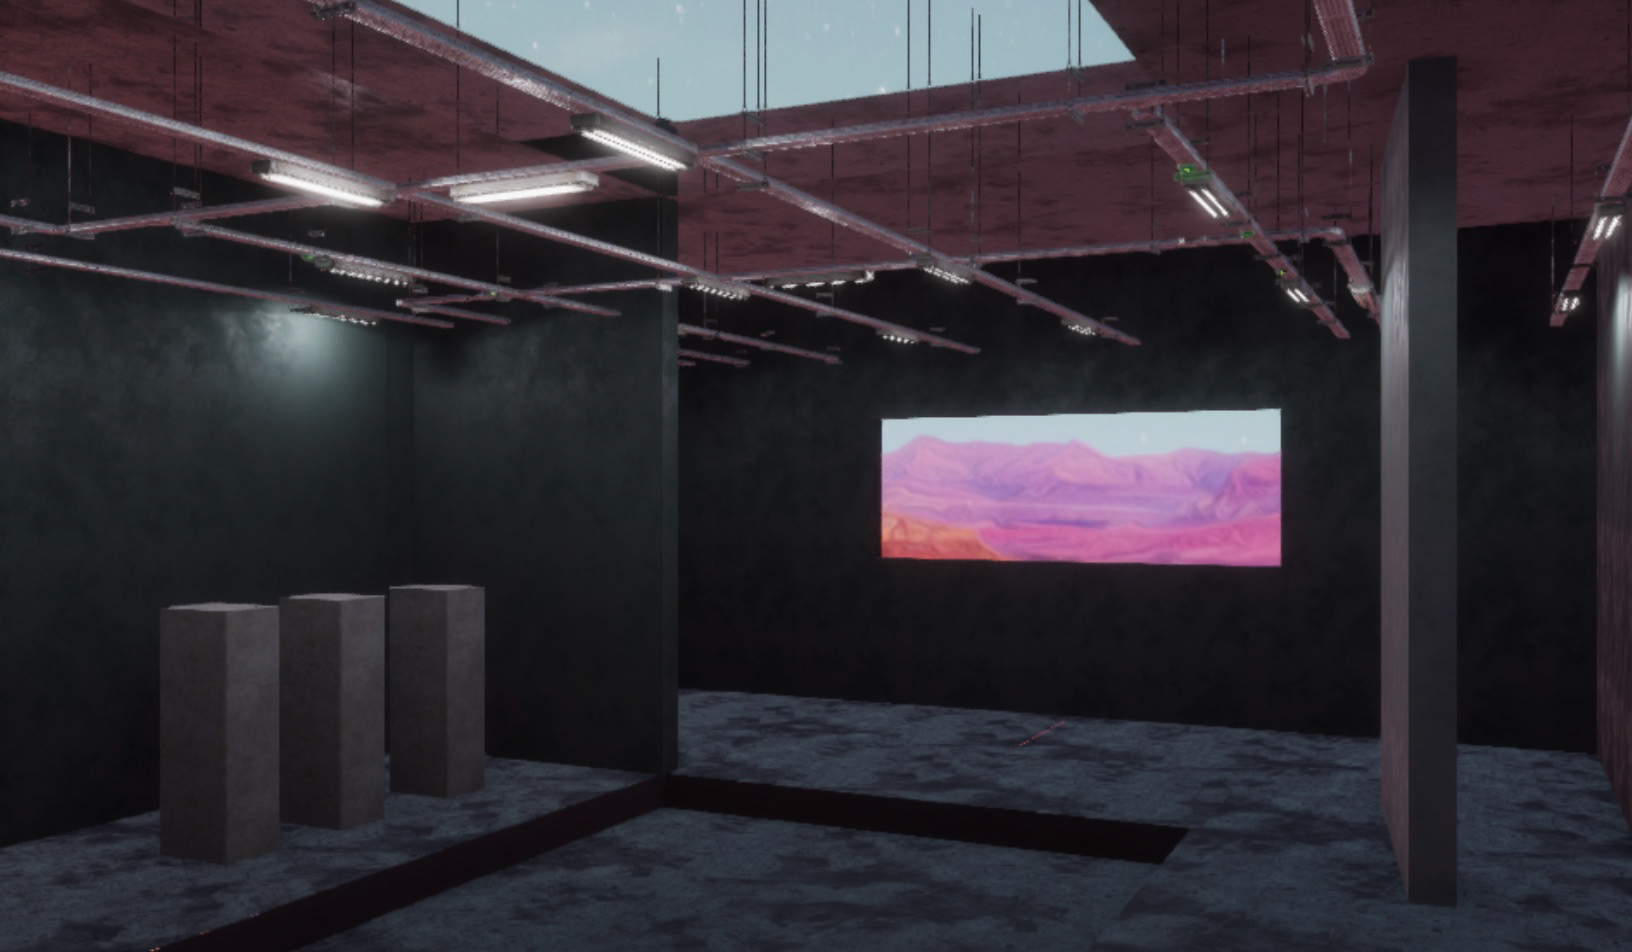
'Night' Volume Test
Apart from the windows, another audio effect I wanted to add was a transition in audio from walking on concrete into grass, so I added a Unity terrain asset.

Fresh grass in my scene!
I also began to think critically about symmetry and the player’s movement within the space, and after lots of shuffling around, created a finalized floor plan.
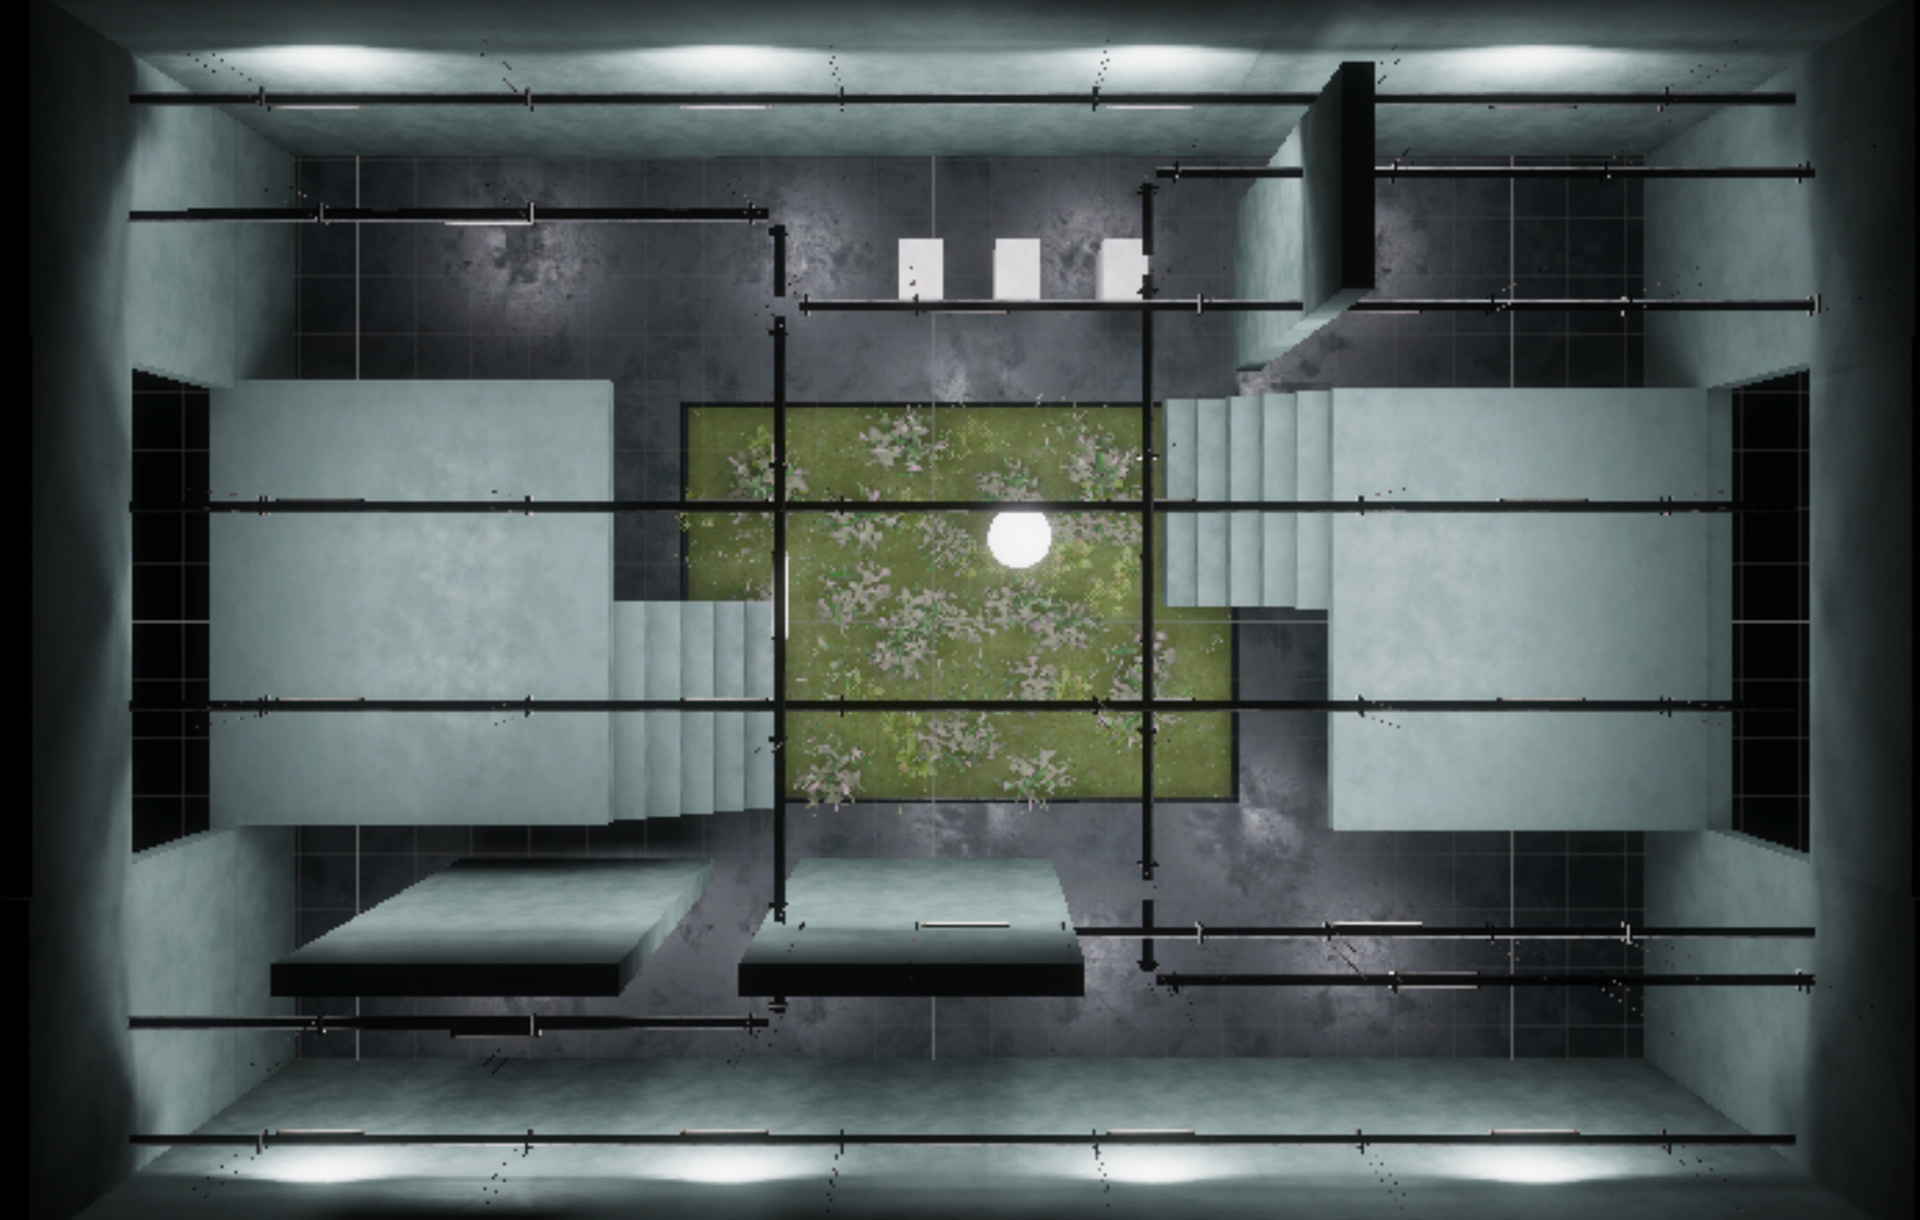
Birds-eye view of my rough layout
After feeling more comfortable with my layout, I transitioned to editing my audio clips so they were game-ready. I had been actively compiling sounds and music while building my scene, so I already had most of my assets on hand. I found it quite straightforward to balance/treat the audio, but I ran into an issue with looping: while I set up my loops per the instructions from our lecture, I could not get rid of the ‘click’ noise when I played back the files in Audition.

Setting up looping audio in Audition

File type matters!
I eventually gave up and exported my audio as .wav files, and when I played those files back, the click disappeared! This was a great lesson in tradeoffs between quality and compression. Even though our teacher originally advised us to use .mp3s for longer audio clips, I opted to keep everything as .wav’s as the saved memory was not worth the degraded audio.
Finally, it was time to put my audio in my scene. The biggest challenge would be switching out my audio and enabling the light volumes simultaneously. I originally had my light volume triggered by multiple colliders, but their positions crashed my game upon build.

My original (failed) collider configuration
Even though this error came up during the final week (last minute as always :')), I knew I needed to change my approach. I learned about 'lerping' from some of my more experienced game-dev peers, allowing me to change the light volume’s intensity and corresponding audio volume gradually, resulting in a much smoother transition.

My simple lerp script
Finally, it was time to fill my room with more assets and audiovisual effects. I added water, abstract sculptures I modeled with C4D, and my favorite effect: an archway with animated colors. I wanted the archway to gradually change with the music, so I wrote another lerp script to pull this off. It was challenging working with so many materials, and since I was on such a time crunch, I did not wrote the code in the most optimal way (I used a 12-parameter switch statement!), but I am satisfied with the final effect.

Each color change was triggered by its own collider..
Finally, on deadline day, I made sure all my audio assets were connected to the correct mixers and adjusted the audio levels until everything blended together the way I wanted it to. I ended up naming my final project “sanctuary” because I felt like the space had a soothing, safe quality to it. While I am really happy with the visual appearance, I do wish I spent an extra day or two focusing on just sound design, as there are a few transitions I think could be more polished and some of the audio was chosen hastily. Regardless, I am proud of how much I’ve learned in just a few weeks and I think this project was the perfect way to take my first shot at realtime development.
Thanks for reading about my process! ☺
External Assets
Interior Prefab: Concrete Tiles + Ceiling LEDs (Snaps Art HD Car Park), HDR Images (Greg Zaal, HDRI Haven), Grass (Terrain Assets Sample Pack, Unity Technologies), Concrete Plaster Textures (Concrete Plaster Texture Pack, Texture Haven).
All sound was sourced from Soundsnap.com.
---
Unity, Adobe Audition, Cinema 4D